Friday, December 31, 2004

Bread and Chickens

Eggs in Bread

Another week, another batch of bread. The last batch, four loaves lasted a week. There is a heel left in the bread drawer. If I don’t use it for bread crumbs or croutons it will go to chicken food or as a treat for the bunnies.

I keep a plastic dish pan under the kitchen sink for chicken scraps. Chickens will eat any sort of food than people eat, but they are not so fussy. They will eat tough stems of broccoli, dried up bread, old brown lettuce, table scraps, anything that is usually discarded. This time of year, when they are stuck inside because of cold weather, those scraps help relieve their boredom as well as giving them access to nutrients that can’t be found in their scratch feed and layer mash. In warmer weather the chickens will receive piles of weeds and garden waste, eating it, pooping on it, and trampling it into a sort of pre-compost. When I eventually clean out their pen, the proceeds feed my awesome compost pile.

I love the intrinsic economy of keeping chickens. Throwing out unwanted food is so wasteful, but putting food that is still edible on an outdoor compost pile invites rats, raccoons, and other varmints into the yard. The chickens are so thorough that when they are through with foodstuff there is nothing edible left. If you give them watermelon rind that the people are done eating, they will peck out the white part of the rind until there is only the most delicate dark green shell left. Their manure is strong enough to jumpstart the composting process even if the weather is cold and I don’t have time to “turn” the pile.

It is cheaper to feed chickens this way, too, although my flock of 20 birds is a little large for our household. I think that 2 or 3 birds per person in a household where everyone ate at home most of the time would be ideal for converting table scraps into eggs. Right now my birds are about 18 months old and finishing their first molt. I have been getting 13 or 14 eggs a day since just before Christmas. I sell eggs for $2.00 a dozen by putting up a sign on the road and selling to whoever stops by.

This brings me back to the bread recipe:

2 tablespoons dry yeast dissolved in
½ cup warm water with a pinch of sugar
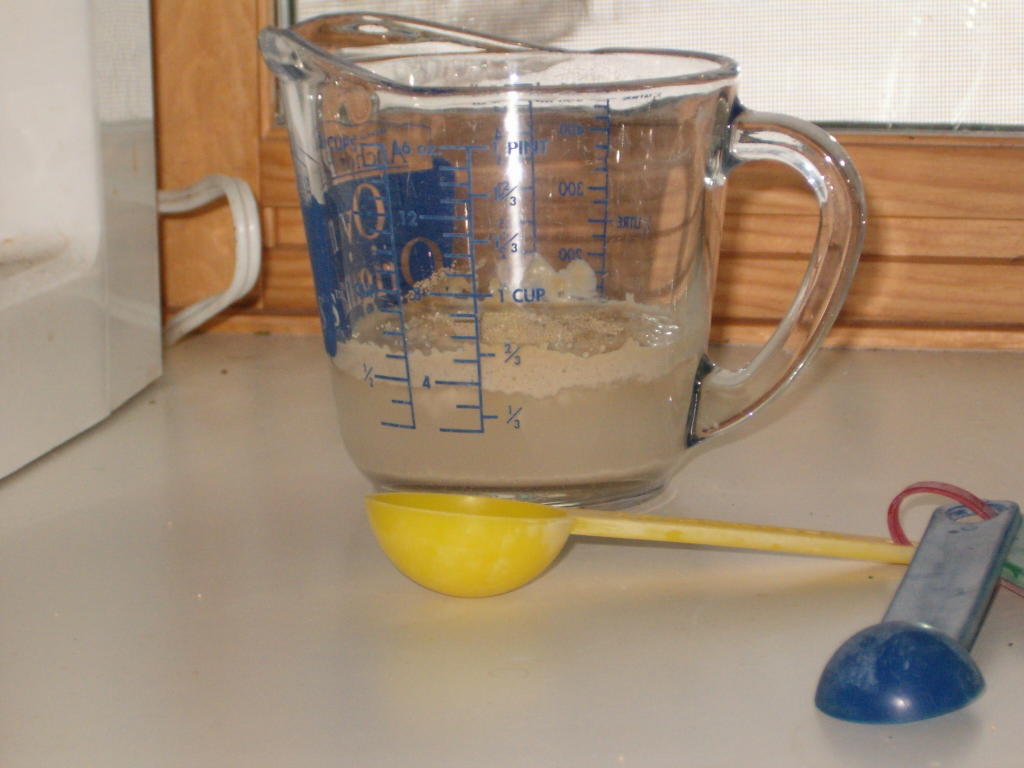
3 cups warm water
¼ cup shortening
1 tablespoon salt
½ cup sugar
1 to 4 eggs (optional)
Flour

Dissolve yeast in water. Combine yeast, water, sugar, salt, shortening, and eggs. Add 3 cups of flour, then stir 200 times without reversing direction. Let sit 20 minutes.

Add flour one cup at a time until dough is kneadable. Do this slowly; the flour needs time to absorb water and if you add too much your bread will be dry. Knead the bread for 10 minutes, and then let it rise for an hour.

Shape the dough into four loaves and let rise until they are large. Bake at 350 degrees for 35 minutes. Test one loaf with a probe-type thermometer; done is 190 degrees in the middle of a loaf that was in the middle of the oven. Turn out of the pans to cool.

You will notice that I have edited the recipe to add pinch of sugar while the yeast dissolves. I never noticed that I do this until I tried to follow my own recipe.

The number of eggs is quite variable. I often use no eggs. Sometimes I cut back to 2 cups of water and use as much as six eggs. This makes a dough that is like bagel dough or sweet bread dough if you add a little more sugar.

When the hens are laying I always get a few eggs that are not good enough to sell. They may have cracks or be too large or oddly shaped to fit in the cartons. These eggs are for home use, on the door of the fridge, and I use more or less in the bread depending on how many I have. Today I will use at least two and this will help the yeast to rise in this cold house

I mix my bread in a large (14 inch diameter) stoneware bowl. I have used a 32 cup Tupperware mixing bowl for this recipe but the stoneware is heavy enough that I can mix the dough and knead it in the bowl. I use a long handled wooden spoon for mixing and for measuring the shortening, which doesn’t need to be measured precisely. A ¼ cup size dollop from the mixing spoon is fine.

The directive to “200 times without reversing direction. Let sit 20 minutes.” might be the most mysterious part of the recipe. During this time the flour is absorbing water and forming long strands of protein called gluten. Later we will want this gluten since it will stretch and contain the bubbles of carbon dioxide produced by the yeast. More bubbles mean lighter bread. Stirring back and forth would break up the strands of yeast. (At least that is what I was taught but as I write these words they look like a theory begging to be proved or disproved.)

Letting the dough sit for 20 minutes gives the flour time to thoroughly absorb the liquid and makes it harder to add too much flour in the final phase of the recipe. This is easily observed; after the rest the batter looks thicker and gloppier.

When my kids were little they loved to help with making bread. I let them measure the ingredients and help me count to 200 as we stirred. When I put the dough up to rest before kneading I would often wait quite a long time to add the rest of the flour and then knead the dough as they were only in the way during the kneading process. I would “sneak” a little kneading here and there while they were diverted with other things but the bread didn’t suffer. They were invited back after the dough rose and they would happily shape dough into two half-size loaf pans.

Next: Kneading

My stoneware bread bowl came from Ransbottom Pottery.

Wednesday, December 29, 2004

1990 Plymouth Horizon, Wrenches in the Snow

A break from the bread baking tutorial. Today it was warm (about 35 fahrenheit) and no precipitation so I thought it would be a good day to tackle what should have been a small chore: tightening the alternator belt on my "go cart", a 1990 Plymouth Horizon.
I bought the car from a coworker for $500 last November. It had been his mother-in-law's and had been sitting in the garage for almost 4 years. I had equivocated about getting a third car, not willing to buy a car for my kids but not comfortable having them driving to the casino to pick me up on nights when they needed to drive somewhere. The"go cart", as my husband calls it, is fun for me. It is too small for teenagers to drive so it is off limits to them. Nobody changes the radio station or leaves their stuff in it. It already looks trashed so I don't have to lock it. There's no place for a mugger to hide in the thing anyway.

It has a good engine and good tires. It starts right up and goes through the snow. After cleaning snow off the minivan, cleaning the Horizon seems like barely lifting a finger. Mice ate through the rubber hoses that open and close the heating system doors so when you turn the fan on you get a mix of heater and defrost and no heat to the floor, but this is not much of a problem because the car is so small. The heater fan has either a low speed or a "jet engine" speed and I have noticed that when I have the lights on and the fan turned up the alternator gauge on the dash is pointing toards the low battery side. I can hear the alternator belt slipping, so it was easy to envision a scenario where I would loosen a bolt, maybe use a prybar to move the alternator and pull the belt tight, and then tighten the bolt again and then voila! no noise and plenty of juice with all accesories running.
Alas. Just because it drives like my old Datsun doesn't mean that working on it is any sort of joy. The alternator was easy enough to see, once you looked under the non-functioning air conditioner. Unfortunately it is almost impossible to touch the alternator because it is jammed between the engine and the front of the engine compartment with the air conditioner on top. The adjusting apparatus, which must have seemed really cool on the drafting table, was a small screw that could be accessed by removing a rubber plug in the engine compartment wall.

Unfortunately the screw and the bracket it was supposed to move were both covered with many years worth of rust. Getting the wrench on to the bolt was tricky, but attempting to turn it was a real leap of faith, as it was impossible to see what was actually turning. When I did manage to get one eye situated to see what was happening, I realized that I was moving the whole bracket, not just the screw. If the whole bracket moves somewhat freely, then what is tensioning the alternator?

Rust never sleeps, but you can loosen it a little with WD-40. Afraid that I would remove too much "friendly rust," I put the tools away. I will send the car off again to Bob Day, a mechanic of the old school who lives over by work. I will tell him to do what needs to be done, removing the whole air conditioning unit if needed. He will take a week and a half to get to it then another week to call me and tell me to come and get it but the price will be right. Meanwhile I will drive the minivan and everyone will have to go back to asking for permission to borrow it.

Tuesday, December 28, 2004

Bread Baking Equipment

There is a danger here of making things sound unnecessarily complicated. You don’t have to go out and buy a whole new kitchen to bake a loaf of bread, but when you are going to be doing a job over and over again for years to come, you might want to work towards collecting the sort of equipment that makes the job less frustrating and more rewarding.

A word about time. Yes, it takes time to make bread, but mixing and kneading and rising can be done in small chunks interspersed with other chores, like laundry or caring for small kids. In fact the bread turns out better when you are not worrying it or rushing it along. You will also find that the yeast has something of its own schedule. On hot days your dough will rise fast, but on cooler days you can choose to be more leisurely.


This is my first favorite piece of equipment: a 2 cup clear Pyrex measuring cup. I sprinkle the 2 tablespoons of yeast on top of the ½ cup warm water and I am waiting for the yeast to dissolve. Today it is winter and our house thermostat is set at 62 degrees, so this mixture looked very much the same for almost two hours.

I let it look the same because my daughter wanted to go pick up a friend to play with and it took longer than expected because of slushy roads. Once I got home I added a pinch of sugar and set it over the warmer part of the gas stove make it foam a bit.


Old time recipes call for “proving” yeast like this every time you bake. Modern recipes skip this step, but I find it useful as I still on rare occasions find that my yeast is not as robust as I would like. Today I was reminded that it is indeed cold in this house and I will adjust my baking techniques accordingly.


Monday, December 27, 2004

Baking Bread

Baking Bread

It is hard to get started writing about my household. The garden exists because of the chickens. The chickens are here to lay eggs. Selling eggs leads to selling rhubarb. What we eat is what the garden gave us. Each day offers chores according to the season, as well as gifts. One thing I do at least once a week is make bread. It is always the same recipe, but the job and the bread differ with time of year.

With five people in the family, I make four loaves at a time. The recipe is simple:

2 tablespoons dry yeast dissolved in ½ cup warm water
3 cups warm water
¼ cup shortening
1 tablespoon salt
½ cup sugar
1 to 4 eggs (optional)
Flour

Dissolve yeast in water.


Combine yeast, water, sugar, salt, shortening, and eggs. Add 3 cups of flour, then stir 200 times without reversing direction. Let sit 20 minutes.

Add flour one cup at a time until dough is kneadable. Do this slowly; the flour needs time to absorb water and if you add too much your bread will be dry. Knead the bread for 10 minutes, and then let it rise for an hour.

Shape the dough into four loaves and let rise until they are large. Bake at 350 degrees for 35 minutes. Test one loaf with a probe-type thermometer; done is 190 degrees in the middle of a loaf that was in the middle of the oven. Turn out of the pans to cool.


My standard flour is a combination of whole wheat bread flour and white flour. I use 3 or 4 cups of whole wheat to start the recipe and white flour to finish. (My usual plot is to use as much whole grain flour as my family will eat without thinking that I am serving them “health food’.) Substituting one cup of semolina flour in the beginning makes the dough easier to knead.

Stone-Ground Whole Wheat Bread Flour from Great River Milling is a nice choice(http://www.greatrivermilling.com/). Semolina flour can be found at Bob’s Red Mill: (http://www.bobsredmill.com/).

Tomorrow I will talk about the my bread baking equipment.